The Print Club is your only access to our rarest collectibles
ABS & ASA 101: How to Acetone Vapor Smooth Safely
Step-by-step ABS/ASA vapor smoothing with PPE, bin setup, timing, and sanding paths for pro finishes on big prints.
Chris Adkins
9/3/20254 min read
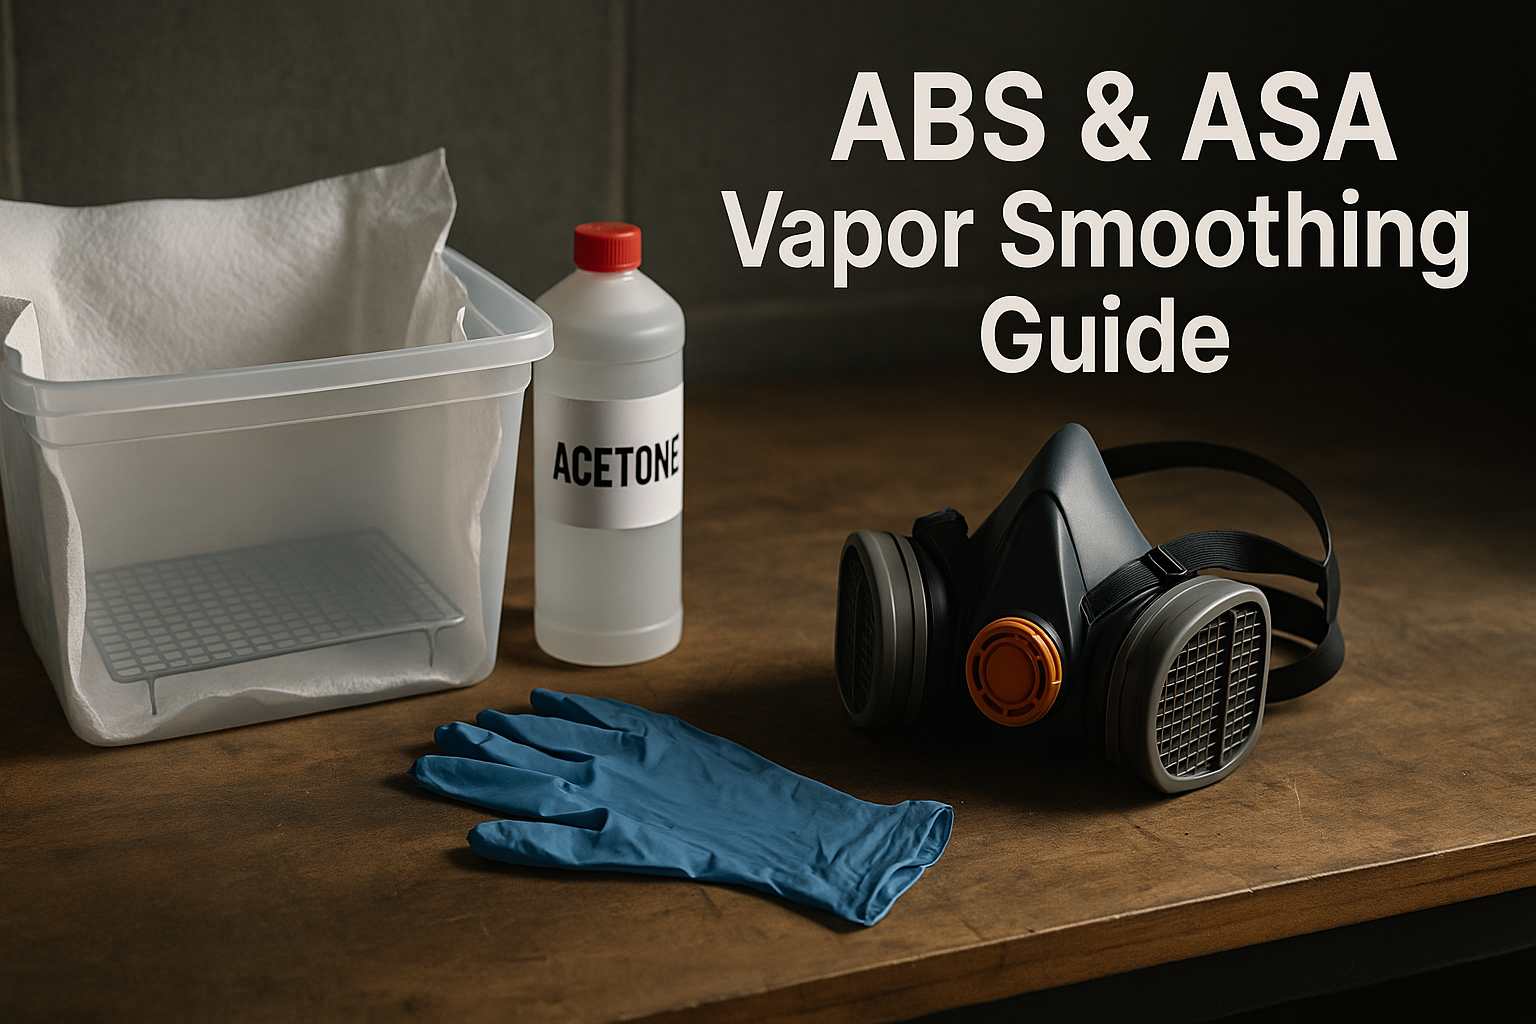
ABS & ASA 101 + Acetone Vapor Smoothing: A Safe, Simple Guide
PLA and PETG are great for everyday prints. But when you need heat resistance, outdoor durability, and a glossy, near-injection look, it’s time to reach for ABS or ASA—and finish them with acetone vapor smoothing.
Below is the full guide: what to buy, how to do it safely, and exactly how long to cook parts for a glassy finish without melting detail.
Why ABS/ASA (vs. PLA/PETG)
Tougher & more heat-resistant: Better for props, armor, and parts that see the sun or a hot car.
ASA > ABS outdoors: ASA handles UV better; it won’t yellow or get brittle as fast.
Acetone reactive: Both ABS and ASA respond to acetone vapor, letting you smooth layer lines to a glossy, paint-ready surface.
Safety First (read this)
Printing ABS/ASA and working with acetone isn’t the PLA world:
Fumes/VOCs: Print in a ventilated area or enclosure with filtration. Don’t run ABS/ASA next to your bed or in a closed room.
Acetone: Flammable and can irritate skin/eyes/lungs. Use PPE: respirator (organic vapor cartridges), gloves, eye protection.
Chamber material: Use a polypropylene (PP) bin—acetone can dissolve other plastics.
No sparks/open flames anywhere near the setup.
If you’re not sure—don’t guess. Ventilate, mask up, and keep a fire extinguisher nearby.
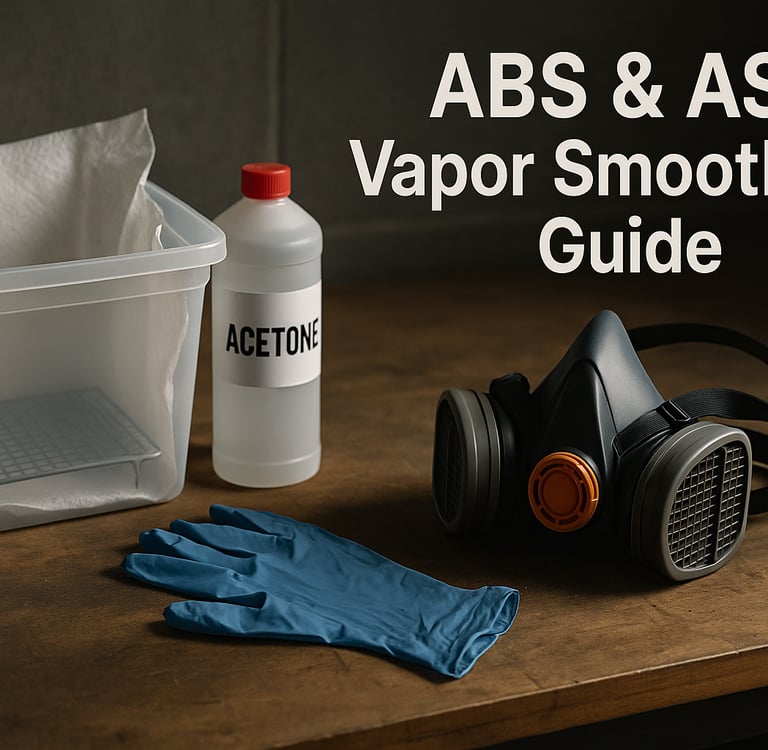
What You Need (about $50)
Polypropylene storage bin with lid (clear, latching; look for PP recycling mark)
Paper towels (enough to line walls)
Metal grate/stand to keep parts above the bin floor
Acetone (hardware store)
Timer (phone is fine)
PPE: respirator (OV cartridges), nitrile gloves, eye protection
Optional but useful: small binder clips (to hang towels), extra PP bin for larger armor pieces.
Print Settings That Help Smoothing
Material: ABS or ASA (ASA for outdoor props)
Layer height: 0.16–0.24 mm
Walls: 3–4 perimeters (smoothing thins edges slightly)
Top/Bottom: 5–7 layers
Infill: 15–25% is plenty for armor shells
Bed/Enclosure: Enclosed printer or DIY enclosure; moderate bed temps to prevent warping
Cooling: Minimal for ABS/ASA; keep drafts away
Step-by-Step: Acetone Vapor Smoothing
Location: Garage or outdoors with good airflow.
Line the bin
Place a few dry paper towels on the bottom.
Set the metal grate on top so your part sits above any liquid.
Soak the walls
Fold paper towels, drizzle a small amount of acetone onto each (don’t drench), then unfold and hang/press them along the inner walls of the bin.
You want vapor, not puddles. If a towel drips, reduce acetone.
Set the part
Place your clean, dust-free print on the grate. Avoid touching with bare hands (oils print through).
Close & time it
Put the lid on. Start with:
Fine parts / high detail: 8–12 minutes
Medium shells (mask/gauntlet): 12–20 minutes
Thicker armor plates: 20–30 minutes
Peek quickly if you must, but every open loses vapor.
Cure
Remove the part and let it cure 12–24 hours (ventilated spot). It’ll be tacky at first; don’t touch the glossy surfaces.
Iterate if needed
After curing, you can run another cycle to push more gloss. Never “overcook”—details can soften.
Sanding: Before vs. After (what actually works)
Pre-sand then smooth (glossy final look):
Quick pass 220 → 400/600 wet.
Vapor smooth brings back the shine. Great when the smooth plastic finish is your end look (no paint to chip).
Smooth then post-sand (for paint):
Vapor smooth → 220 → 400/600 wet.
Kills the shine but leaves a super-flat, paint-ready surface. Best for color coats and metallics.
Metallic paints show sins:
Bright/reflective coats magnify tiny ripples. Matte or textured finishes hide more.
How Long To Cook? (Quick table)
Part TypeWall/DetailFirst PassNotesSmall greeblies / emblemsFine8–12 minWatch edges—details soften fastMask/gauntlet shellsMedium12–20 minMost cosplay parts live hereLarge armor platesThick20–30 minBetter to do two shorter passes than one long one
Rule: Stop when the surface looks uniformly satin-glossy. Over-gloss = softened detail.
Common Problems & Fixes
Rippled finish / visible lines after smoothing
→ Do a light pre-sand next time; try a second short pass after full cure.Orange peel / texture
→ Too much liquid acetone pooled. Use less on towels; ensure no drips.Blurry edges / lost detail
→ Overcooked. Cut time by 30–50% and do two short passes.Sticky after hours
→ Let it cure longer in fresh air. Warm, dry airflow helps.Cracking/warping during print
→ Enclose the printer, reduce drafts, tune temps, increase chamber warmth, and slow outer walls.
When to Choose ABS vs. ASA
ABS: Cheaper, easy to source, smooths great; okay indoors, can yellow outdoors.
ASA: Similar smoothing, UV-resistant, better for helmets/props that see sunlight.
FAQ
Can I smooth PLA or PETG with acetone?
No. Standard PLA/PETG don’t respond to acetone like ABS/ASA.
Will smoothing weaken my part?
Edges soften slightly. Use extra perimeters on structural areas if you plan to smooth.
Is one long pass better?
No. Two shorter passes with full cure in between keep details sharper.
The Bottom Line
ABS and ASA unlock stronger, heat-tolerant, outdoor-ready prints—and acetone vapor smoothing delivers that pro, glossy finish fast. Respect the safety, run conservative times, and decide up front: gloss plastic finish (pre-sand → smooth) or paint-ready flat (smooth → post-sand).
Quick-Ref Card (print this)
Bin: Polypropylene (PP) only
PPE: Respirator (OV), gloves, eye protection
Timing: 8–30 min depending on part size
Finish path:
Gloss plastic: Pre-sand → Smooth
Paint-ready: Smooth → Post-sand
Cure: 12–24 h before handling/second pass